Jayisgames really needs your help to continue providing quality content. Click for details
The week is over and the new Weekday Escape here - have fun!
With Amajeto you are still in the mountains or hills, but inside this time. After you open four doors in a cabin and go out on fresh air, you have another twenty locked doors ahead in kitposition's game. Then you get imprisoned by Neat Escape his friend's villa, and the last is cute, clever, funny and joyful Nicolet with their sheep's adventure.
Have a good time and enjoy!
Snowy Cottage
Seems that Amajeto opened one house in Snowy Mountains (WE N°285) for you in the end! Now you're inside a nice wooden cabin but trapped, and you need to find eight tiles to complete the jigsaw and get the key from exit door. Can you escape?
The cursor isn't changing, save option, one ending.
20 Exits
 |
 |
 |
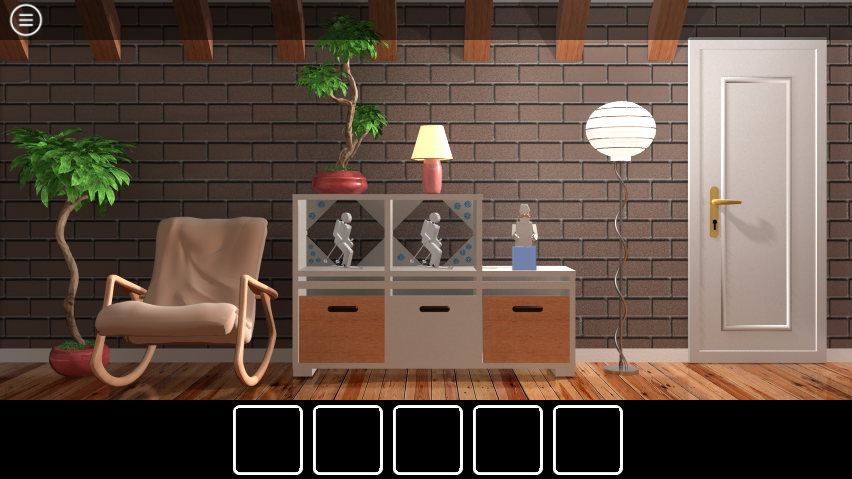
In kitposition's game you are supposed to open twenty doors and since it's definitely not for the first time you all know well what to do. Except the first door, you need to figure out a small puzzle or find an item which helps you to open the door. Unlike Sarameya's 10rooms (WP N°2) this one is brief and not demading.
The cursor isn't changing, save option, one ending.
Escape from the Lakeside Villa
 |
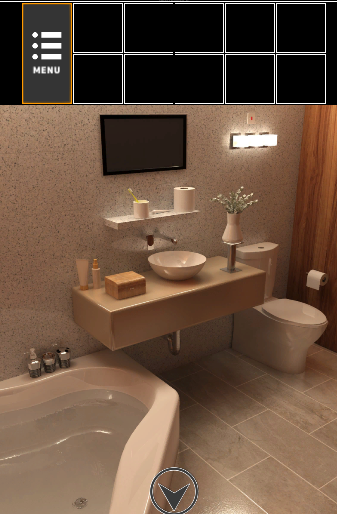 |
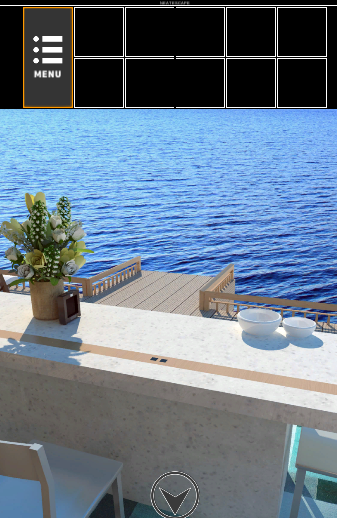
There are many things you can do in luxury villa by a mountain lake! Just chilling, sitting on the terrace, enjoying the view and sunbathing or fishing, watching the tv in the bathroom - that's the only one I found though I believe there must be more tv sets in the house - and most of all, escaping the villa. This time Neat Escape offers three escape routes!
The cursor isn't changing, save button + autosave, three endings.
Escape Game Flower
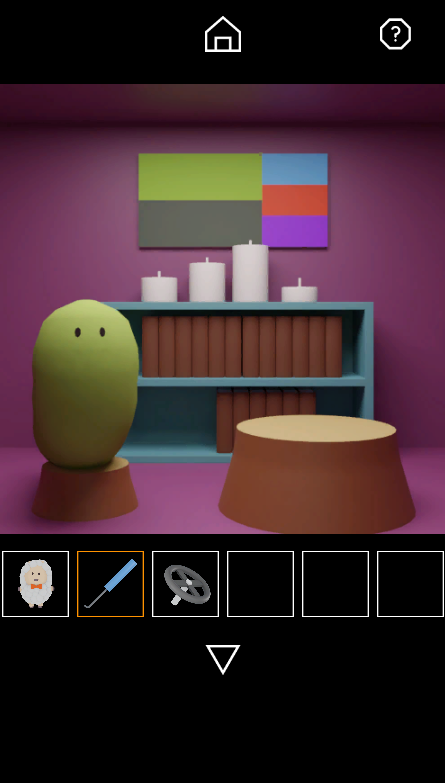 In Nicolet's game you are a sheep and you want to please your mum with a flower. That's nice but not easy as the small garden where flowers grow is inaccessible. Not in general but at the moment, and to get there you have many errands to do - every neighbour needs something so you have busy day ahead indeed. Will you get the flower in the end?
The cursor isn't changing, autosave, one ending.
![]() Escape Game Collection 3 (Android, Android Tablet)
Escape Game Collection 3 (Android, Android Tablet)
![]() Escape Game: Collection (iPhone, iPod Touch, iPad)
Escape Game: Collection (iPhone, iPod Touch, iPad)
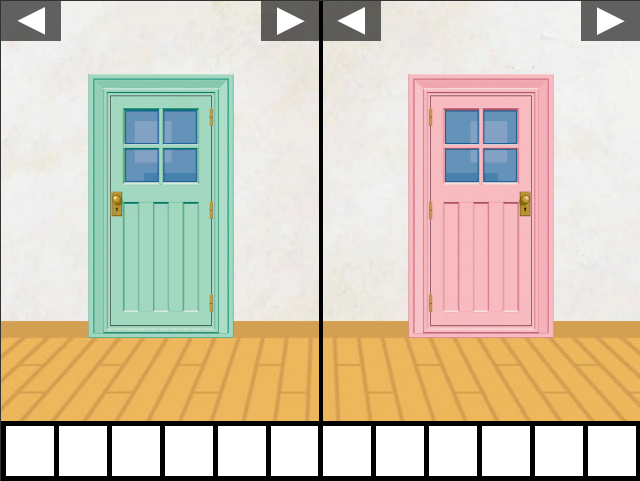 Bonus game: Akatsuki no Yado's latest game Nikoichi has unfortunately several puzzles in Japanese and for non-Japanese players not doable without help. Otherwise good game!
We love escape games, and our readers love talking about them and sharing hints! How about you? Let us know what you think, ask for clues, or help out other players in the comments below.




20 Exits
That was fun. I had to consult the walk through for 17 because it was way to fast for me to memorize.
Also, the 20th door:
Those sensitive to hints, tips, or questions, click no further.
I clicked on the left door and got the true end. I thought I had saved and wanted to see what was behind the right door but could not figure out how to reload. What was behind the right door?
Neat Escape
Those sensitive to hints, tips, or questions, click no further.
When you get the remote, it will need another battery. You will need to retrieve the battery you used earlier. However, you will need to have the remote first and selected before you are allowed to get the used battery.
can't wait for these.
The right door:
Bad End...
Hint: direction
[picture of both doors open]
No idea what that means.
Hmmm. I'm a bit stuck on Escape from Lakeside Villa. I think I know exactly what I'm missing, but I'm not sure where to find it:
I need matches or a lighter for the candles.
Anyone know where that is?
Nevermind -- found them! Boy, that was a pixel hunt.
hope the walkthroughs for these are coming soon.
Snowy Cottage
Exploration
We start off with two skiers and a man (figure) holding a blue square tile. All three cupboards beneath are locked.
Go through the door. A TV is surrounded by four framed pictures, but the top-left one shifts instead of flipping over.
Go through the door to find a picture missing eight tiles, and some words on the wall above a guitar with six strings. The door forward is locked.
Spell / Exploration 2
Let's start with the right cupboard on the first screen. The clue is the guitar.
Following the strings with 1, 2, 3, 4 dots gets you the code
beadTake a key and square tile, and then use the key to unlock the door forward.
This screen has several large cupboard compartments. There are two locked ones in the middle, and one at the top left with a button grid.
You can check out the weird collection of items in front of the window. And of course, the door is locked.
First room / Button pair
The clues are the decorations you just saw. For the left cupboard:
Match the candle lengths by clicking the yellow, blue, green, pink bars
1 3 0 2 times.
For the middle cupboard:
The yellow, red, blue, green pencils point
↓↙↘↗
Take 2 square tiles and a pair of small skis, and then use the skis
on the figure, and click him to view a clue.
Use that ski clue to unlock the middle cupboard on the last screen:
LLRLR
Take a square tile and remote control.
Corners / Button grid
Use the clues from the skiers to unlock the picture near the TV:
The corners with 1 to 5 dots are the
⌞⌜⌝⌟ ⌞
Take a square tile, and flip that picture over too.
Now you can fill in the grid at the left of the last screen:
The grid clues on the back of the pictures combine to form
B - - B

- B B -

B - - B

B - - B
Take a square tile and read the word behind.
Screen / Four digits
Use the remote on the TV to view some numbers, and then use that with the
word clues
to unlock the right cupboard on the last screen:
The numbers represent the letters above the guitar, with DOWN represented by
5274
Take the last square tile.
Complete
Place all eight tiles into the picture beside the guitar, and then rotate the tiles until they align:
3 1 1 2
2 2 1 3
3 2 3 2
1 3 1 2
Take a key, unlock the last door and escape.
20 Exits
01: Basic
Click the door (and then click the doorway).
02: Item
Pick up the shiny thing on the ground: a key.
Use it to open the door.
03: Recall
Watch the pattern and push the same buttons.
UDULR
04: Physics
Fill the bucket and hang it on the hook.
Then pick up the key on the chain and unlock the door.
05: Time
Turn on the lights beside the door, and then set the clock on the door:
To get 21:20, push the green button 4 times and the red button 9 times.
06: Items!
Pick up a keychain with 2 keys on it.
After removing the keys from the ring, use the first one to unlock the door.
07: Scale
All you have to do is click the door.
About 20 clicks should fully light it up.
(For some reason, if you save and load your game here you'll only need 8 clicks.)
08: No key
The device on the door keeps it locked, but all you have to do is remove the batteries from it.
09: Danger!
Since you can't just use the doorknob, you can only
unlock the chest with the key you have remaining.
This gets you a whole bunch of tools, specifically a flashlight, pair of gloves and axe. Which is helpful?
Use the gloves to open the door.
10: Legged
(Examine the door. Instead of navigating, the arrows control the puzzle.)
Seasoned escapers know this door puzzle:
It's an amidakuji, which means you trace a path vertically through the board while taking every horizontal bridge on the way.
Doing that from the bottom to top, you find that the triangle at the top needs to be in
the rightmost position
(Or you could try every spot until you get it correct!)
11: Remember
The same puzzle, but harder and faster.
UDURLLUR
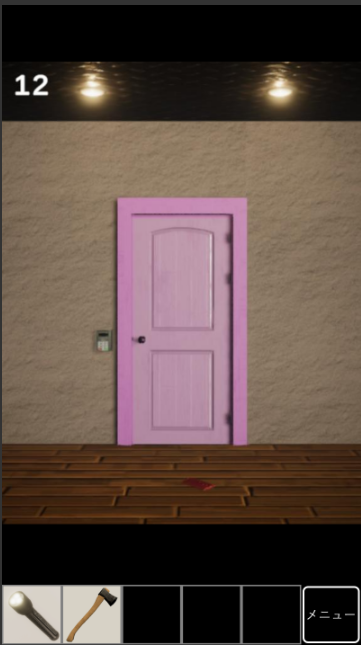
12: Scan
Seems like you're missing an item. Look around.
There's a wallet on the floor. Open it.
Now you're rich, with coins, (further right in your inventory) a silver card and a gold card.
Scan your cards, and you'll find incomplete digits.
But the clues from scanning both cards combine (when superimposed with some effort) to form
2630
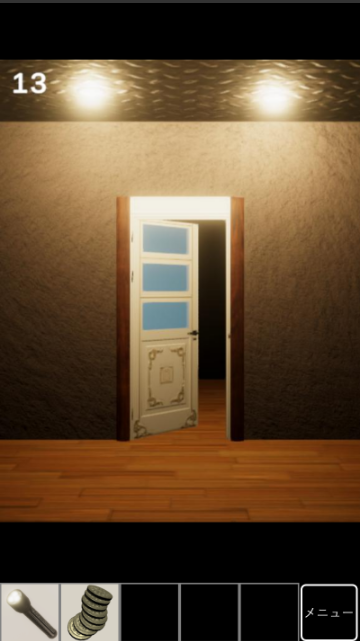
13: Glass
Smash it with the axe. Step through the broken door and then through the real door.
14: Dark
Flashlight not working? Put the batteries in it first.
15: Side
The left arrow gives you access to the whole door.
16: Iron
Pull the shelf down to get the ball on it, then throw that ball through the door.
After walking through the doorway, pick up the ball and key, and use the key to unlock the door.
17: Repeat
The same puzzle, but better and stronger. (It may help to write down the sequence as you learn it.)
LLRDUDRD
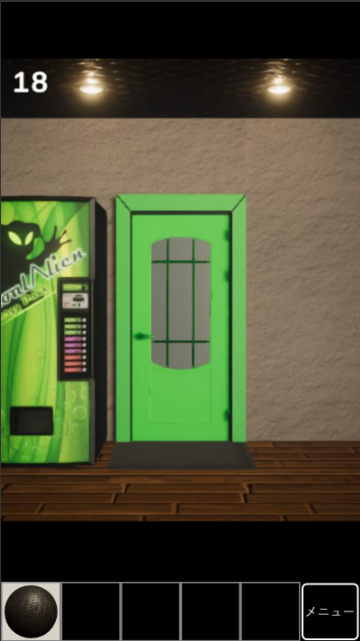
18: Vend
Win an australien getaway for a cheap price of five coins!
…I mean, operate the vending machine to make the door appear. It's still locked though.
You can find the key under the mat.
19: Color
Look around. Combine the colors on the walls. Use the door clue if you're not too clear about colors.
(Or maybe spin around fast enough and you'll kind of see the colors blend?)
Combine
R - R R -

G G G - G

- - B B B
to get
Y G W M C(4 2 0 6 5 clicks)
20: Split decision
After defeating the guardian with an iron ball, you get a choice between two doors.
Only one of them has a bad ending. (But no progress lost.) If you don't know it already, you might as well guess.
The bad door is
the one on the right, and choosing it gives you a clue as to what is going on.
Which means the good door is
on the left, and shows you the explanation for a brief moment:
Odd doors are hinged on the left, and even doors are hinged on the right. This is level 20, so you had to choose a door hinged on the right.
You get a True End!
Escape from the Lakeside Villa
Exploration
You start facing a round table with a box on it, and a couch with a green toy hidden under the right cushion and a tablet with colorful icons you can drag horizontally.
Oh, and of course there's an awesome view of the lake. Click the rightmost door pane to step outside. On this counter, there's a square device missing batteries, a pair of fish buttons, and two bowls with a fishing lure in the larger one. You can walk all the way to the water.
Back inside the house, turn right to face a door and kitchen area. There's a wooden panel to the left of the door and a locked wooden cupboard to the right.
There's a TV screen with colored rectangles below, and clicking under it brings you to the kitchen. You can zoom in on the gray shelves in the corner, as well as the locked box and two locked drawers beneath that. You can't use anything else in the kitchen, but the compartment nearest the fridge has an orange balloon behind a glass pane with a square marking.
Back out and turn right. The wooden panel here has a tablet and some small green rectangles under it. Head down the stairs, and zoom in on the potted plant there to find another toy.
Since the right door is locked, go through the left door to find a bathroom. The sink has a locked box, and a TV above it, and the wall above the toilet has a red switch that just does something to the lights.
The flowers beside the sink are in a weird spot, because the metal column they sit on is bolted down.
Off / Pop / Lake
Use the clue from the toilet lights to unlock the sink box.
CRLCLC
You get a battery.
Place it in the device by the lake and push the button there, then use that clue to unlock the two buttons nearby.
LRLLLR
Take a fishing rod.
The orange balloon panel may seem like a mystery until you look closely.
There's no glass in the middle! And that means you can break the balloon with a pin…
Of course you don't have a pin, so use the fishing lure.
That gets you a fishing reel.
Use the reel on the rod, and then the lure on the end of the line, and then the whole thing on the water off the pier to fish up a can.
Equipment
Use the clue from the tablet to unlock the kitchen box:
Observing the things on the shelf, you find that their colors on the tablet are
Pink Orange Blue Gray
Pink Green Orange Gray,
which is
3 1 5 2
3 4 1 2 clicks.
Take 4 candles tied together.
Fit / Numbered
Combine the two green toys, and place the resulting piece onto the green bars on the wall panel near the stairs.
It looks like you'll need three roman numerals. Shouldn't be too hard.
Paying attention to the edges of the toy, you find that it's divided into three parts.
Ⅰ Ⅱ Ⅲ
Hmm, why would someone want to cover up these nice black-and-white pictures?
Use the clue from the pictures you just found and
the rectangles under the TV
to unlock the box near the couch:
The yellow, white, red rectangles are square, tall and wide.
The pictures of the same aspect ratios are
Bridge Car Horse
Take a yellow key. Before you use it, look around a bit…
The panel to the left of the room door is now open and full of numbered hearts!
Use that clue to unlock the panel to the right of the room door:
The hearts shown are numbered
8247
Take a can opener.
But wait, there's more!
On the numbered heart panel, the 7 tile hides a matchbox.
Open the can to get a red key, then use that to unlock the top kitchen drawer, which contains a pair of pliers.
Down and up
Your inventory should contain:
Yellow key, Can opener, Matchbox, Candles, Pliers
Unlock the right door at the bottom of the stairs. It contains another staircase that leads up to a locked door, but under that staircase is a device with a red PUSH button that doesn't seem to do anything.
Use the pliers to cut the candles free, then place them on the device, light them with the matchbox, and push the button.
That gives you a clue for the bottom kitchen drawer:
Match the flame heights by clicking the buttons
3 1 2 4 times.
Take a blue key.
Save your game, we're going for the easy end!
Unlock the room door and leave for a short walk through nature.
Presumably you get to enjoy your lunch after all, so it's not so bad.
And now back to the gameplay. Load your game, and then
unlock the blue door.
This room presents you with the two doors out. Only one has a boat in it, but both doors are connected to wall panels that slam shut before you can touch them. In the corner between them, a chest of drawers has one unlocked (containing a remote control) and two locked.
TV!
Return to the first room and step outside again. You can now retrieve the battery from the square device where you used it earlier, and insert it into the back of the remote.
Use the remote on the screen in the bathroom. It shows a magnifying glass, but
you can drag that around to view some colored numbers.
That lets you unlock the middle drawer in the last room:
The blue, green, red digits form the code
853
Take a green key.
Trendline
The clue for the bottom drawer is
the candles you lit earlier, which are now burnt down different amounts.
They burn different colors when you press the PUSH button.
The heights of the candles don't match that drawn on the drawer. Instead, it's a mirror image.
So reverse the color clue to get
Blue Red Black Green
(4 1 5 3 clicks)
Take a spanner, and use it
to remove the metal vase table on the bathroom sink.
You may want to save the game again, since now you have to choose
which door panel to use the vase table on.
If you choose the boat door, push the red button to open it, and then
use the green key to start the boat. You get to enjoy a day in the lake.
If you choose the other door, just use the green key on the door panel.
Finally, you get lunch with a friend!
Escape Game Flower
The note above the game is quite important: you'll need to watch an ad before you can play.
Exploration
The intro shows your goal: flowers atop a cliffside. Since you're stuck below, you can just examine the pond, the pulley connecting a boulder and metal pot (that's screwed shut), and a tiny mousehole.
Actually, there's no mouse there, just a worm with its collection of favorite books and a picture of colored rectangles hung above some unlit candles.
Turn right to find a yellow house blocked by a pair of chicks. The dirt patch has a small sheep doll.
Turn right to find a red house (the plate tells you it's yours. Let's not go in yet, but check on the carrot patch which is padlocked.
Turn right to find a blue house. The panel beside the locked door is bolted shut.
Now enter the red house. Beside a large red wardrobe, there's a trapdoor with a tiny hole.
Turn right to find three empty colored boxes above three locked drawers.
Turn right to find the door. The sheep doll here is tied up.
Turn right to find Mother Sheep, who asks for a carrot for her stew. Behind her is another picture with colored squares.
Drawers
You'll need clues from
the chicks and the carrot patch.
For the top drawer:
the chicks fly in the
Middle Bottom Middle Top Top
Take a wheel.
For the middle drawer:
The carrots appear in the positions
- C -

- C C

C - C
Take a small hook tool.
Use the tool to pry up the trapdoor in this room, and then use the wheel on the square bit there, then turn it to open the wardrobe.
This contains a stack of three cardboard boxes, a locked ladder and locked box, and a key at the bottom.
Now you can unlock the bottom drawer. The clue is
the stack of cardboard boxes.
The blue, yellow, pink boxes have
2, 3, 0 wiggles
at the ends of their sealing tape.
Take another sheep doll.
Unlock / Group
Unlock the carrot patch, and you get a carrot. Give it to the sheep who immediately chops it up and asks for milk.
You can get a clue from
checking the chopping board
which helps you unlock the box in the wardrobe:
Medium Large
Large Medium Small
Take a pair of scissors, and use it to free up the sheep on the windowsill.
Place all three sheep into the boxes on top of the drawers:
Follow the picture behind mother sheep: red in purple, blue in pink, brown in green.
Once you have it correct, a button appears and pushing it makes the boxes open up in sequence, which you can use to
unlock the ladder.
URLRLU.
Take the ladder.
(If you've been keeping track, all the puzzles in this room are done.)
Above / Green house
Unfold the ladder, and place it on the cliff to climb up.
This house has a beaver standing in front of a stump with a cut log on it (and asking for an axe). Actually, it's standing in front of a ladder and blocking it. On the left, there's a cup shelf above drawers, and a dartboard above a game board.
More drawers
You'll need clues from
the houses and the candles in the worm room.
For the middle drawer:
Match the candle heights by clicking the sliders
1 2 3 0 times.
Take a shovel.
For the bottom drawer:
If you've been watching the nameplates, the sheep, chicken, cow, beaver live in
Red Yellow Blue Green houses
(1 2 0 3 clicks)
Take an axe.
Give the axe to the beaver to get a plank, and a request for soup. Also,
the stump in front of the beaver now has narrow cuts in it
which is a clue for the top drawer:
- | \ / /Take a spanner.
Use the shovel to dig up the dirt next to the chicks, which contains a treasure chest with a picture and some stars.
Also use the spanner to remove the panel on the outside of the blue house.
C / Blue house
Use the clue from the
cups in the green house
to unlock that seven-button panel:
The handles point
LRR
LLRL
(click the four buttons marked L)
The first thing Cow does is climb up on top of the blue stool, but it immediately breaks and you get to hold the broken stool.
You can still access the locked bottom door of the fridge. On the left, there's what looks like a gray conveyor machine with sliders, and another locked box.
Good thing you can solve all of those puzzles, with the clues from
the green house and the treasure chest.
For the gray machine:
To match the positions of the game pieces, click the sliders
1 2 0 2 times.
A cake comes through the machine sliced into different-sized pieces.
Now you can unlock the locked box nearby:
The dartboard sectors, from smallest to largest, have 2 1 1 3 darts.
Matching those to the cake and the box buttons gives you
- 1 -

1 3 2
Take a pail.
For the fridge door:
Counting the blue, yellow, red, green stars gives you the code
2 3 3 1
Take two ice creams.
Yellow house
Give the ice creams to the chicks, who rush into the house. Follow them in to find a hen who doesn't look very happy, but she happily takes the broken chair and asks for a plank and a hammer.
The left table is blocked by a group of now three chicks, one of which is quite distressed about not having ice cream. The right table has two locked boxes. The shelf above has a bunch of items that are basically useless.
Use the clue from the crying chick to unlock the right box on the right table:
LLRRLR
Take a lollipop, and give it to that chick, who gives you access to that box behind.
Now use the clue from that box and from
the worm room
to unlock the left box on the right table:
Each shape of screw is in a different compartment, and the corresponding rectangles on the worm's picture are
Red Green Purple Blue Gray
(3 0 4 2 1 clicks)
Take a screwdriver.
Outside again
Use the screwdriver to open up the pot attached to the pulley. It's empty!
So fill the bucket in the pond and then that pot to weigh it down.
Under the boulder, you find a panel with four buttons whose clue is nearby:
The edges of the lilypads give you the code
> V

^ <
Take the hammer.
Give the plank and hammer to the chicken, who fixes up the stool perfectly.
Give that to the cow, who retrieves some milk from the fridge.
Give that to the sheep, who gives you the completed stew.
And give that to the beaver, who just steps aside to let you pass.
At the top of the ladder, you find the flower patch, but it's locked! Use the remaining clues from the game to unlock it.
The green and black lines refer to the shelf in the chicken's house.
The items on that shelf appear in the houses of
Sheep Worm Beaver Chicken Cow
And you win!
Nikoichi
If you're curious about the title, Nikoichi (二個一) is making one working item out of two broken ones.
Title screen
Find the differences by clicking the right half of the screen. The three of them are
the fan, the cow's nostrils and the scroll (2022 instead of 2021).
Exploration
The screen is now permanently split in two. Each door requires a key.
Turn right (on both halves). The left side has a calendar clue that's helpfully saved to your inventory, and a four-letter safe. The right side has a similar three-digit safe, and a scroll clue which describes magic squares:
Place the digits 1–9 so that the vertical/horizontal/diagonal lines in any direction add up to 15.
Turn right. The left side has a noticeboard with four note clues, and the left laptop has a three-letter lock. The right side also has a noticeboard with note clues, and the laptop has a lock with a grid of numbers. The Japanese-language puzzles roughly translate to:
(Left, purple) What alphabet is in the television?
(Right, green) What number is at the ends of Saitama-ken (prefecture)?
(Right, red):
一石二鳥: killing two birds with one stone
三寒四温: (cycles of) three cold days and four warm
二束三文: dirt-cheap
Turn right. The cupboards on both sides have four-letter and four-digit locks labeled with colored pins, while the treasure chests on both sides have similar locks but without the pins.
Laptops
The clues for the laptops are
the calendar and scroll.
Left side:
The star, diamond, circle appear across the top, where the days of the week would be.
The three missing initials are
M F S
You get a door clue and a grid clue.
Right side:
Fill in the grid using the magic square condition (each line adds to 15). You can work this out in reading order (left to right, top row down).
8 1 6
3 5 7
4 9 2
You get a grid clue and a card suit clue.
Chests
The clues for the chests are
the grid clues and the card suit clue and the calendar clue.
Left side:
Combining the grid clues, you realize that the digits 81 really match the letters PW, and the digits 6239 match the letters
NKIC
(I was expecting this to spell something else, but that's the correct code.)
You get half a key.
Right side:
Referring to the calendar:
Heart = 17, Club = 5, Spade = 30
so putting them together according to the card suit clue gives you
1507
You also get half a key.
Cupboards
The clues for this are the noticeboards. I'll give all the hints simultaneously, so try the puzzle on each note first.
Left side:
Red reminds you of blood.
The missing blood type is B.
Blue is about arrows. What do you call ←?
The initial of Left is L.
Green: this puzzle is in English.
The initial of Grapes is G.
Purple: Inside = in between
and television is TV, so in the alphabet the contained letter is U.
All together, the code is
BLGU
You get an amidakuji clue.
Right side:
Blue: A famous number sequence generated by a basic operation.
Each number is double the previous. The missing number is 8.
Red: You might as well look up Japanese numbers now.
But even if you don't, you can figure out from the examples that the important numbers are 2 and 3.
Purple: this should be straightforward.
The hexagon has 6 edges.
Green: still looking for numbers?
"Saitama-ken" starts with sa and ends with n, and san=3.
All together, the code is
8563
You get a math clue.
Safes
You'll need the last two clues you found, and the last two codes you entered.
Left side:
Follow the amidakuji to get
Green Red Purple Blue
which is
GBUL
Take the other half a key.
Right side:
Work out the equations to get
8−5 = 3
6÷3 = 2
8×3÷6+5 = 9
Take another other half a key.
Unity
Click the door on each screen to go through. On the left half, a grid of hiragana. On the right half, a three-character lock.
Use the remaining clues from the game to unlock that right panel.
The red outlines are:
Door picture: D
Right grid: 1
The green outlines are
Left grid: B
Right noticeboard: 4
The blue outlines are
Calendar: 3
Left noticeboard: A
Reading the grid, the red, green, blue clues indicate
ごおる
(5 down, 8 up, 3 up)
which I guess is a weird way of writing GOAL. You win!
The end screen tells you about how there's only one magic square of size 3, but multiple of larger sizes.
hey KK, great walkthroughs as usual. Although the Nicolet code
on the cups, i think the answer was mirrored. even though the cups showed the correct positions, the code didn;lt work. i checked with a YouTube walkthrough and it was positioned right when the cup was left and vice versa.
otherwise it was great.
Update