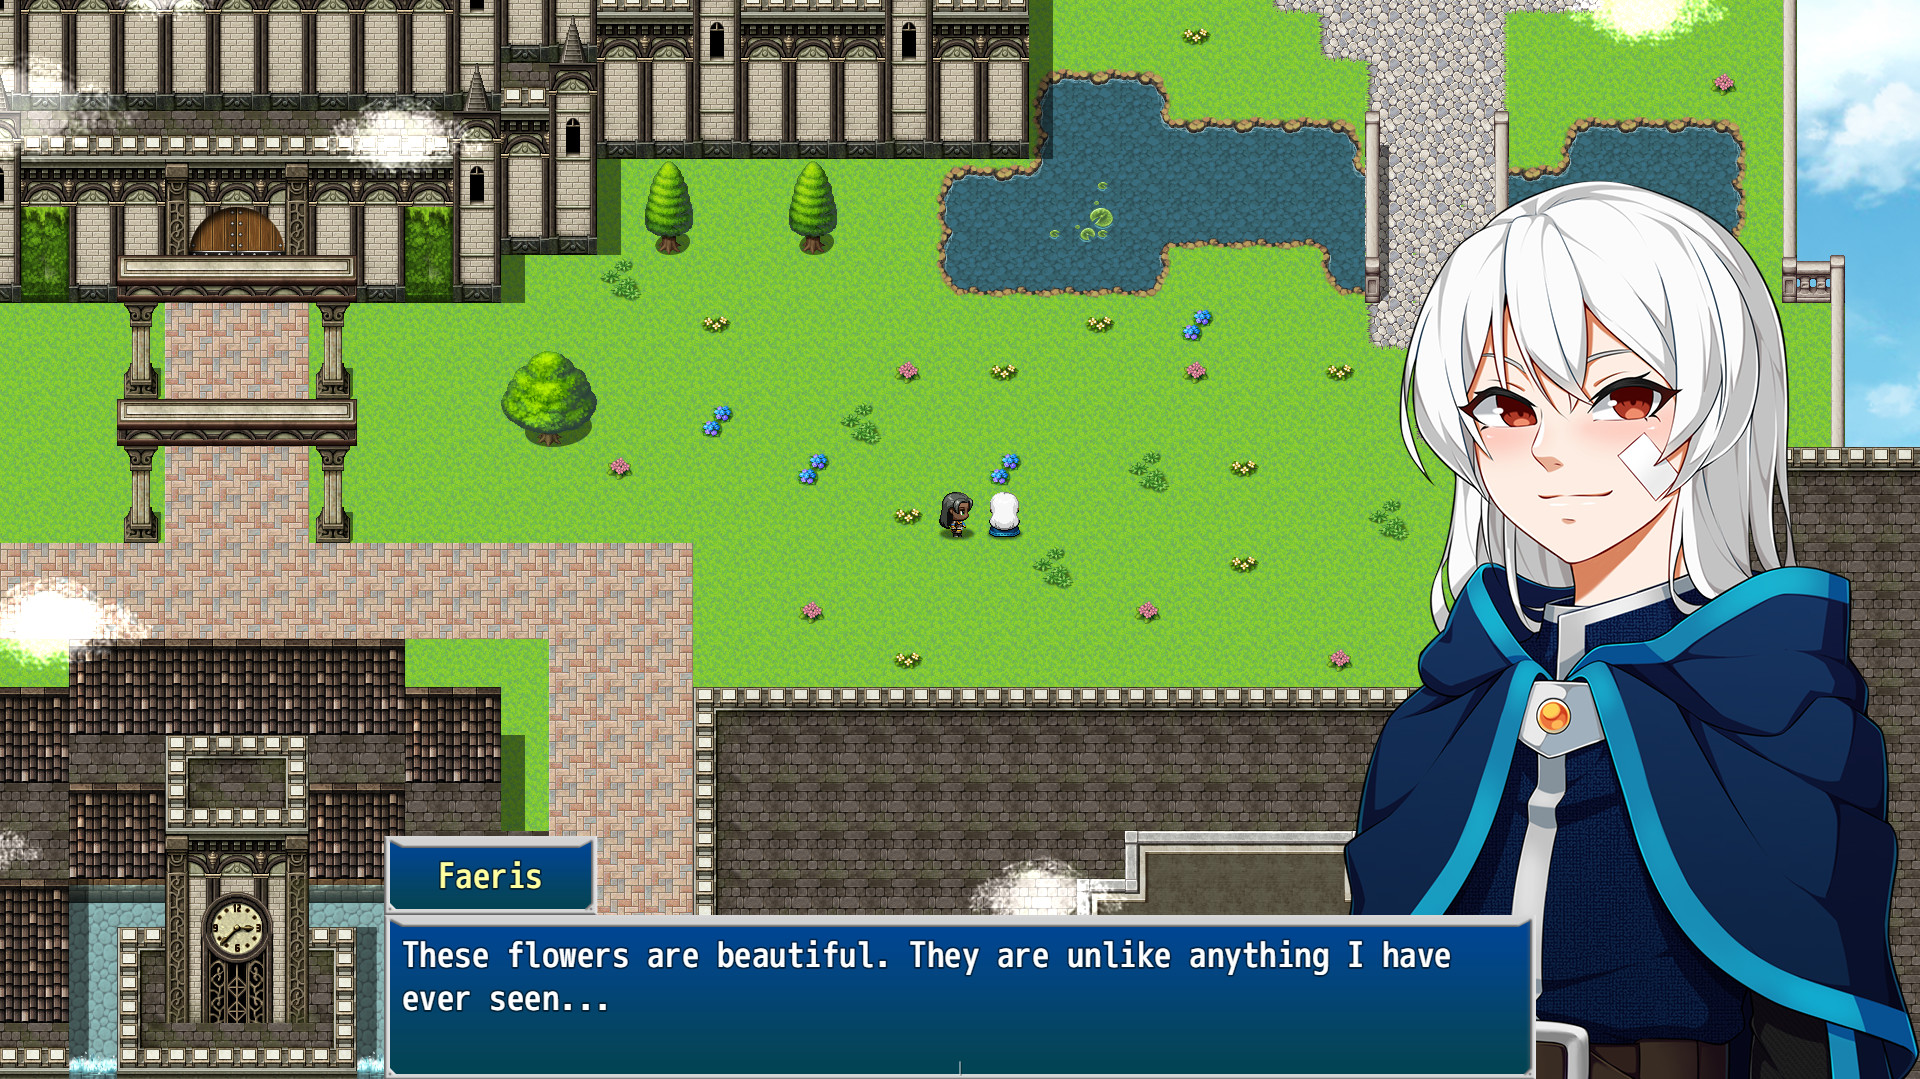
When you first start Eternal Dreamers, you don't know what to expect. Honestly, it just looks like a super basic game made with RPGMaker. However, as you start playing it, Eternal Dreamers' crisis-fueled charm ropes you in. Soon enough, this "super basic game" is one of your new favorite video games.
 When you first start Eternal Dreamers, you don't know what to expect. Honestly, it just looks like a super basic game made with RPGMaker. However, as you start playing it, Eternal Dreamers' crisis-fueled charm ropes you in. Soon enough, this "super basic game" is one of your new favorite video games.
But if you're having trouble understanding the game's mechanics, what good is it? That's why we put together this walkthrough so you can keep enjoying your new flame game.
Let's roll!
Prologue
At the start of the game, a news anchor A.I. tells you that there's a new disease called Sudden Coma Phenomenon rampaging the world. Or, in layman's terms, "people are too sleepy to live." To solve the issue, an organization called "Advent" decides to make everyone dream for eternity--because, why not?
After you become acquainted with the situation, you get to choose an avatar. You have two body-type options with different colors. Next, name your character.
Now, Alexandra will tell you that she wants to stop Advent, the organization she works for. To do that, she will assign you to a squad whose job it is to make people wake up.
Marlon (Tanky Hero)
Forest (Reliable Leader)
Reiketsu (Powerful, but Fragile Assasin)
Monolith (Shy Practitioner)
Once you do the tutorial, Alexandra will order you to do your first mission at the Forest.
Before you start, though, make sure to grab the Fire Spirit Egg from the Terminal. Afterward, go to the Mall northeast from where you're standing and talk to Advent Bookworm for 5x ability fragments. Afterward, use those fragments to purchase an ability (preferably Flameball) from the shop on the northern side of the mall (be careful not to buy ability for a party member you don't have).
From the same room, head right to talk to Advent Romantic to get 5x Sympathy Crystal S. Once you do, go right again to the front of Beauty Salon to view a scene with Reikutsu. Don't enter the salon just yet.
Access Menu by pressing Y/Esc, then select Coaching. From there, you can use the sympathy crystals as a gift to increase your party members' sympathy. Once the sympathy reaches 100%, you can level up your members' goals. Otherwise, hold them for now.
Now you are ready to do the mission, access the teleporter by pressing page up/left trigger then choose QUEST SELECT → Main quest → Forest → The Queen Bee.
Main Quest: Forest
The Queen Bee
You'll get immediately thrown into four sets of battles. These battles are relatively easy since it's the first mission. Don't be afraid to use your abilities since they cost only slightly more than normal attacks (Strike). Furthermore, getting used to your abilities will help you in the long run. You can always cast Focus if you run out of AP.
For starters, here are some tips:
Forest's abilities are the most useful. His Glory Strike can swiftly increase the party meter while Tactical Retreat can recover an ally's (including himself) APs without costing a turn!
Be careful of the Boss: Hornet Captain. Don't mistake lowering his charge level to 0 with Reiketsu's Assassination or Monolith's Waste. If the charge level reaches 0, all the bosses in this game will get an attack buff and two levels of charge.
Monolith can revive a party member into a zombie. For this reason, don't use your only Reviver item on anyone but him. Otherwise, you can simply not use them as dead members will still get EXP after won battles.
Intermission 1
Once you go back to headquarters, go to the mall (or use the teleporter) and enter the Bridge. Head into the inner corridor and inspect the black mirror on the right. There, you will find the black market dealer.
Next, head into the lab on the left side of the corridor. You can wake up additional members here if you've purchased the DLCs. If you want, consider getting Faeris as she has the Cure ability which can make battles easier and safer.
Return to the main room of the Bridge, then talk to Ramiro, who sells Socket for Socket Fragments. If you want to equip Sockets from the previous battle's rewards, go to Menu → Equip. There, you can equip Sockets which act like accessories. Also, don't forget to use any applicable ability books obtained from the rewards as well.
The Alpha
Now, you are ready to get into the next battle. You can opt to do the previous battle sets again to grind, but you hardly need them for now.
Go to the Forest using the teleporter, then pick The Alpha this time. There will be five sets of battles waiting for you. Once again, this level should prove to be somewhat easy. Make proper use of Forest's Glory Stike as wolves are weak against it, including the boss.
With that said, don't forget to use other skills as well, both defensively and offensively.
Intermission 2
Right now, you should have another option called Player's Trial on the QUEST SELECT menu. The option will let your player character join the party. However, it's best not to do that just yet as you need to level up your members first to fight the MC.
After getting back:
Equip any better weapon, armor, and socket you got from the last battle.
Head into the mall to stock up on items or abilities.
If you don't have enough ability fragments, consider recycling unused ability items you got previously as rewards.
Dual-axe Giant
Enemies will become noticeable harder at this point. If you do not feel confident, grind on previous quests. Otherwise, try battling the Boss, Minosta, and see if you can win. If you lose, it's okay. You can always go back and train to get to level 5 or 6 to beat him.
To defeat the boss, try maneuvering with Tactical Retreat, smoke bomb (if you have it), and limit break to maximize your offense while minimizing incoming damage. Once again, remember not to use charge level draining skills, i.e., Assassinate and Waste, to Minosta lest you'd get ripped to shred (though you can use Waste as long as the boss's charge level is at max).
What's Next?
After you go back, you have access to the mines thanks to Mimi. Take advantage of the site to upgrade facilities.
Ideally, before fighting the player character, you might want to do previous battles and bonus quests, if there are any. Once you get the MC, you can confidently go to the final forest mission and further battles!


Update